Knowledgebase
SHOUTcast Radio Hosting, Internet Radio, Audio Streaming, AutoDJ Radio Servers > Knowledgebase > Internet Radio Streaming Tutorials > How to Connect Mixxx to a SHOUTcast v1/v2 Server
How to Connect Mixxx to a SHOUTcast v1/v2 Server
Mixxx can connect to both SHOUTcast v1 and SHOUTcast v2 servers.
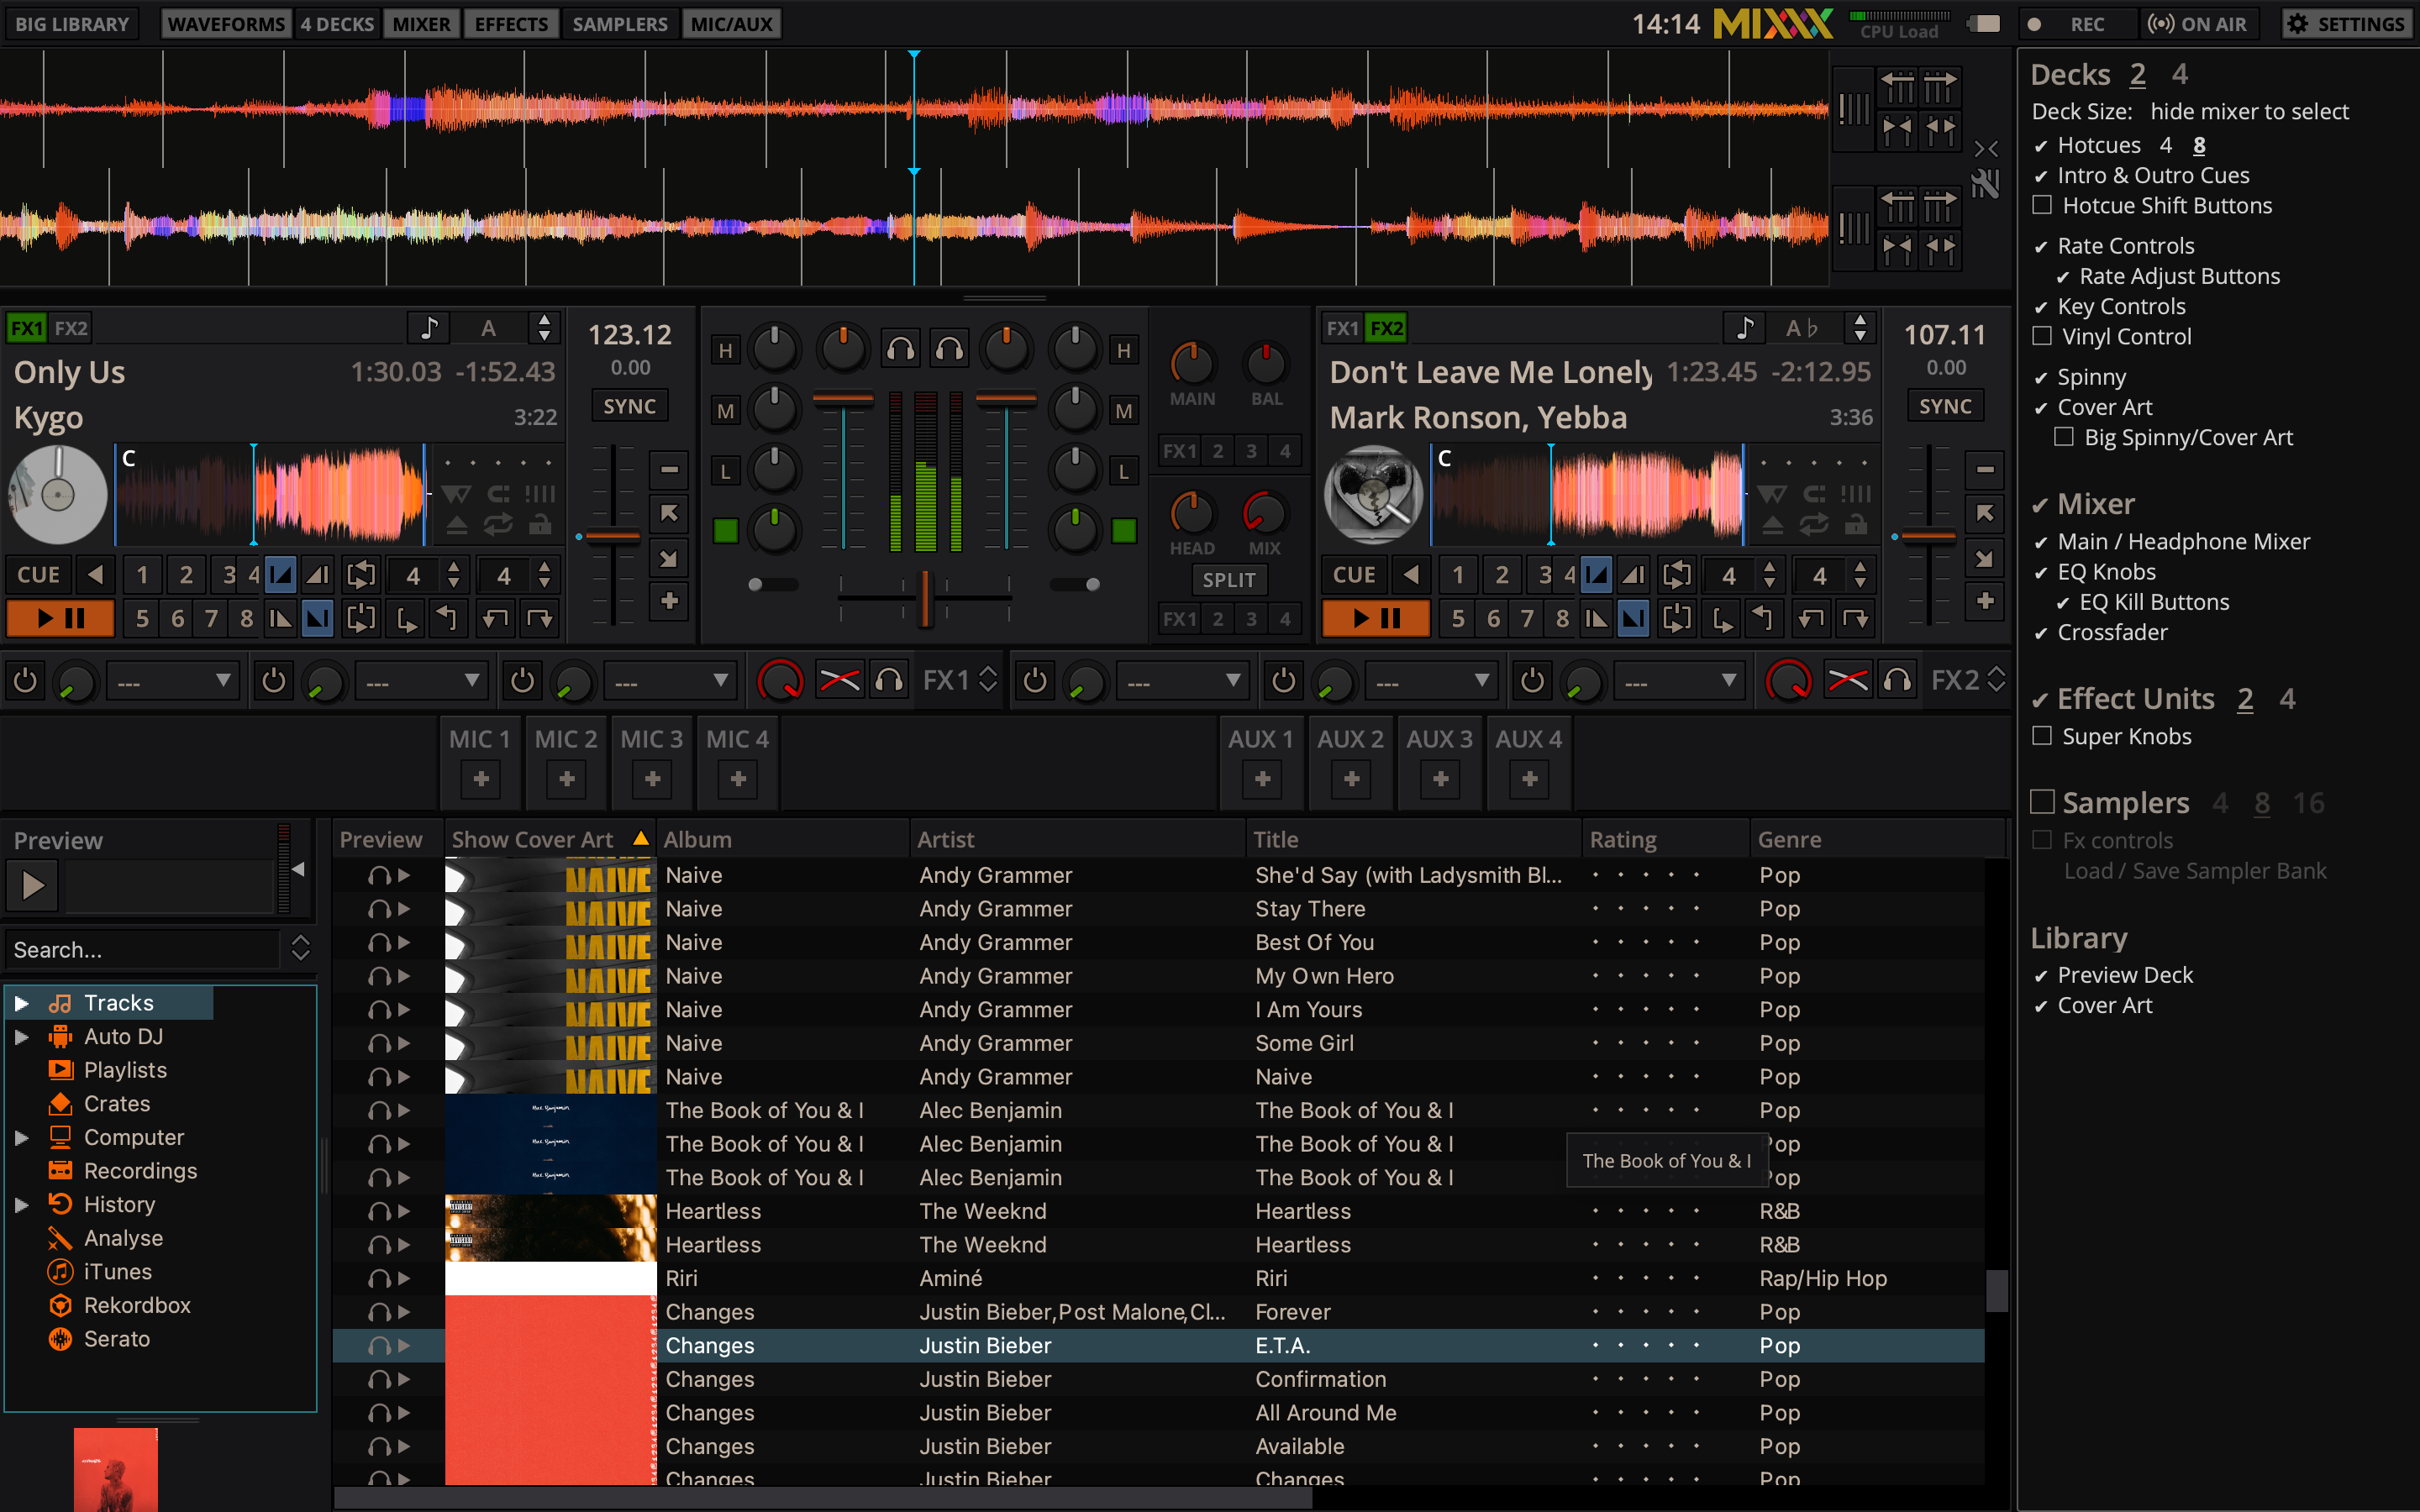
Mixxx is a free, cross-platform DJ application that can broadcast directly to your internet radio server. Follow the steps below to connect Mixxx to a SHOUTcast v1 or SHOUTcast v2 server.
1) Download and install Mixxx
1. Go to https://mixxx.org/download/ and download the installer for your operating system (Windows, macOS or Linux).
2. Install Mixxx and start the application.
3. Load a track into one of the decks so you can test the stream later.
2) Open the Live Broadcasting settings
1. In Mixxx, open the menu Options > Preferences.
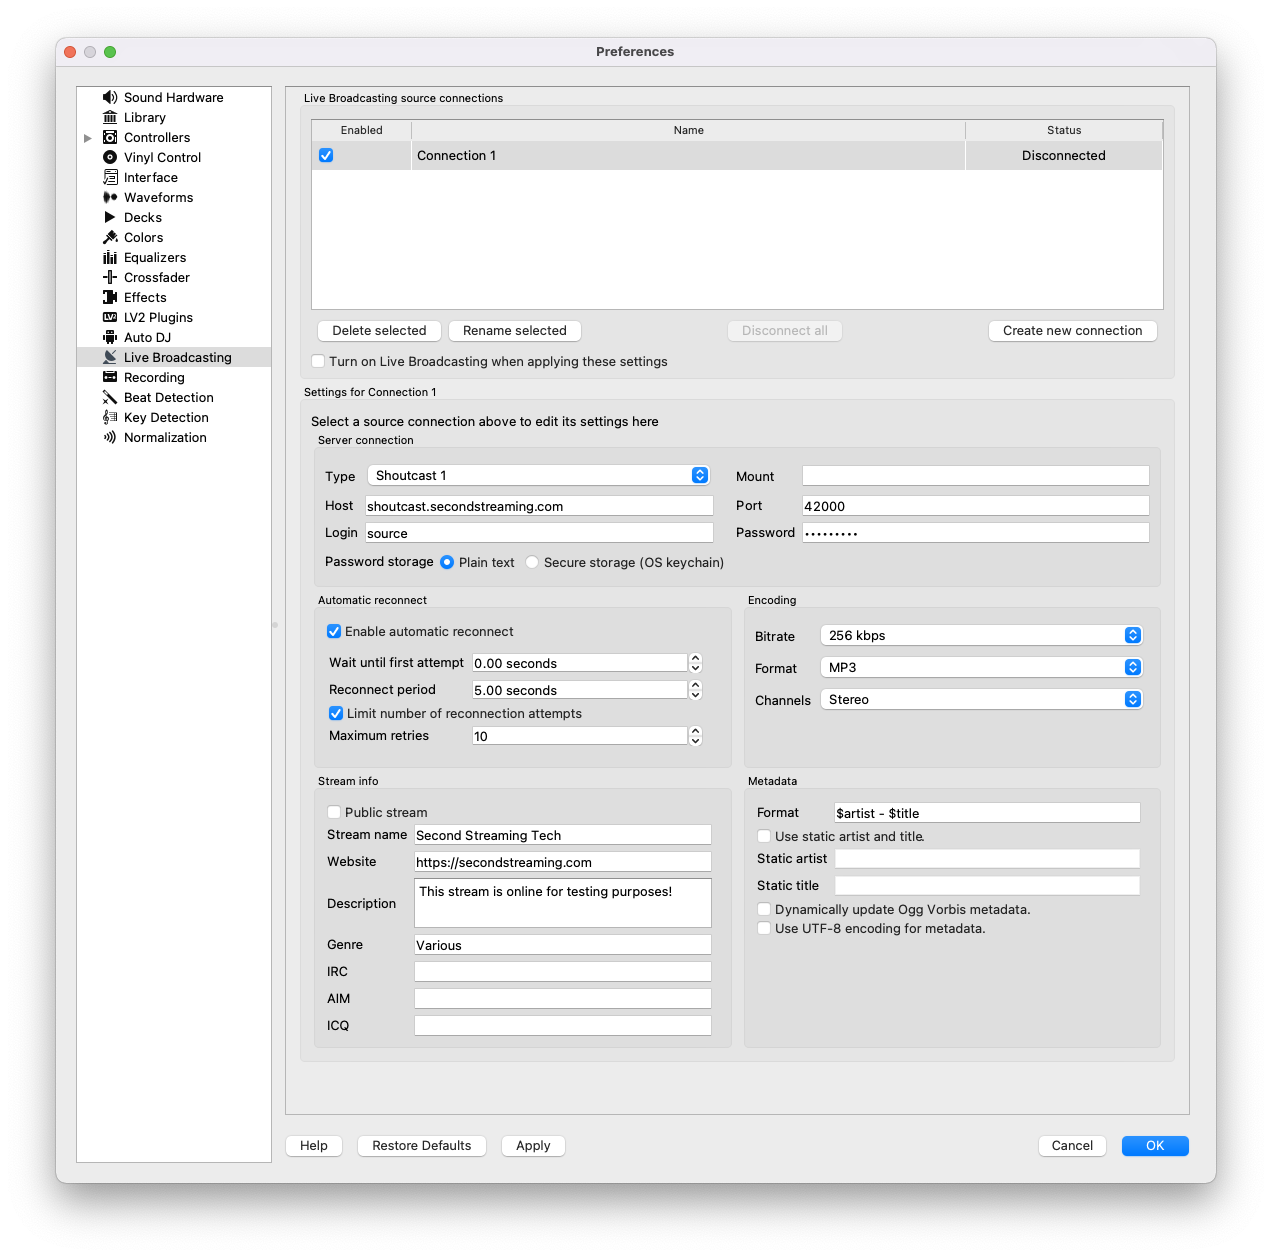
2. In the left sidebar select Live Broadcasting.
3. You will see the window where you configure the connection to your SHOUTcast server.
3) Get your SHOUTcast server details
Log in to your radio control panel and locate your encoder / connection details. You will normally see:
- Server address (Host) – for example:
stream4.example.com - Port – for example:
8000or12345 - Source password – the password used by your encoder
- Stream name – required for SHOUTcast v2 (can be your station name)
4) Configure Mixxx for a SHOUTcast v2 server
SHOUTcast v2 works in Mixxx by using the Shoutcast 1 type with a stream name.
- In Type select Shoutcast 1.
- In the Server connectionsection fill in:
- Host: your server address (e.g.
stream4.example.com) - Port: your server port (e.g.
8000) - Login: usually
sourceor the login provided by your host - Password: your source password
- Host: your server address (e.g.
- In the Stream settings / Metadatasection:
- Set Stream name to your station name (for SHOUTcast v2 this must not be empty).
- Fill in description, genre and website if you want.
- In the Encodingsection choose:
- Format: usually MP3
- Bitrate: for example 128 kbps or 192 kbps (must match your plan)
- Channels: Stereo
- Click Apply then OK to save.
5) Configure Mixxx for a SHOUTcast v1 server
For SHOUTcast v1 the setup is almost the same, but there is no stream ID and the server accepts connections directly.
- In Type select Shoutcast 1.
- Fill the Server connectionsection:
- Host: your server address (e.g.
stream1.example.com) - Port: your server port
- Login: often
sourceor left empty, depending on your provider - Password: your source password
- Host: your server address (e.g.
- In the Stream settings section you can still fill stream name, description, genre and website. For pure SHOUTcast v1 they are optional but recommended.
- In the Encoding section choose the same format, bitrate and channels as configured for your server.
- Click Apply then OK.
6) Select the correct audio input
If you broadcast from a mixer, controller or microphone:
- Open Options > Preferences > Sound Hardware.
- Select your audio interface or microphone as the input device for the appropriate channel.
- Click Apply and then OK.
7) Go on air
1. Make sure your SHOUTcast server is running and not full.
2. Load a track into Mixxx and start playback.
3. In the Mixxx main menu click Options > Enable Live Broadcasting.
4. Watch the status in the Live Broadcasting window. It should change to Connected.
5. Check your radio control panel or a player link to confirm that the stream is online and audio is coming from Mixxx.
If Mixxx shows an error like “connection failed”, double-check the host, port, login and password values, and for SHOUTcast v2 also make sure you have set a stream name in the Stream settings section.
 Add to Favourites
  Print this Article
